Making a Bog Website

Intro#
The idea here is to create a blog based personal website that doesn’t cost anything but a bit of time and elbow grease.
This is the tech stack I’ll be using:
- Hugo - A static website generator.
- GitHub Pages - Hosts the static website for free.
- Obsidian - A note taking application used to create the blog posts and adds the Markdown for formatting.
- Dropbox - I’m using cloud storage to keep things backed up.
This solution could cost money if I want a custom domain name or need additional cloud storage, but a decent site can be created gratis.
The basic idea for this blog setup came from a tutorial by NetworkChuck. I’m only giving a general overview here, so check it out for more details.
Setup#
File Location#
In Dropbox I created a folder called Website where I will store all my files and they can live quite happily in the cloud.
Generate Hugo Site#
Inside that folder I generated my Hugo site using
hugo new site {nameofmysite}
Of course replacing {nameofmysite} with the name of YOUR site.
Hugo Needs a Theme#
Inside your newly created Hugo project, do a git init to initiate a Git repository. Then find yourself a Hugo Theme.
Follow the installation directions associated with your chosen theme. Be aware that older themes may have issues with newer versions of Hugo.
I’m using the Terminal theme, which can be installed using git submodule.
git submodule add -f https://github.com/panr/hugo-theme-terminal.git themes/terminal
Now I open my site folder in my code editor and update the hugo.toml file with the configuration recommended by the theme documentation.
Testing#
To make sure the site is working we run the Hugo server, remembering to specify our chosen theme.
hugo server -t terminal
Which results in
ERROR deprecated: site config key paginate was deprecated in Hugo v0.128.0 and subsequently removed. Use pagination.pagerSize instead.
Remember what I said earlier about Hugo versions and themes? Even though the Terminal theme was updated just a few months ago, they still managed to slip in some breaking changes.
At least the error message is helpful. All I have to do is go into hugo.tomal and replace paginate with pagination.pagerSize, rerun the server, and I’m good as gold!
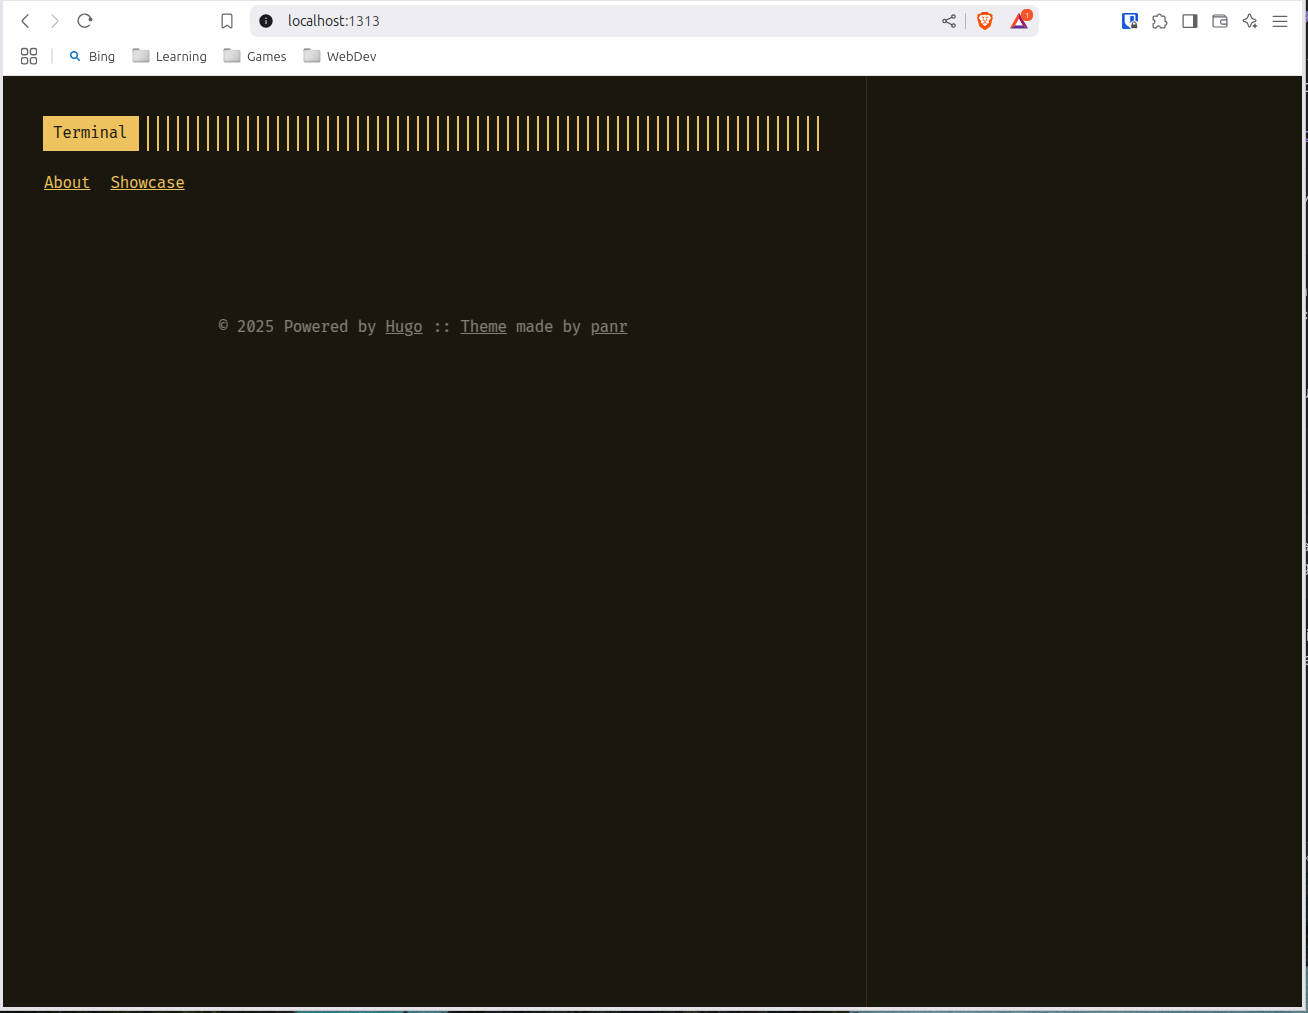
In your browser, navigate to localhost:1313 and voila!
Posting with Obsidian#
Now we have Hugo up and running, it’s time to get Obsidian configured so we can write blog posts and migrate them to Hugo.
First thing we want to do is create a new vault in the same folder as our Hugo folder. In this case, I’m calling the Obsidian vault “blog”.
Website (root folder)
	|
	jacques-blog (Hugo)
	|
	blog (Obsidian)
In Obsidian, create two folders: “Attachments” and “Posts”. “Attachments” will contain the media used in the blog posts and “Posts” will contain, funnily enough, posts.
Open the Obsidian options page (click the gear icon at the lower-left of the page) and click on “Files and links” to configure the following items:
- Default location for new notes
- Select “In the folder specified below”
- Folder to create new notes in
- Select “Posts”
- Default location for new attachments
- Select “In the folder specified below”
- Attachment folder path
- Select “Attachments”
Click on “Community plugins”
To use Community plugins, restricted mode must be turned off. Once that’s done, click the “Browse” button next to Community plugins.
The two plugins you’ll need are “Hugo Preview” and “Hugo Publish”. Download and activate both plugins. Navigate back to the Community plugins tab on the Options page.
When “Hugo Preview” is activated, you’ll see a little blue gopher in the lower right corner of the Obsidian window. Click on the gopher and you’ll be treated to a preview of your Hugo site.
“Hugo Publish” will publish any posts with the “blog” tag to Hugo. You can configure the plugin to use a different tag if you wish.
To configure “Hugo Publish”, click on the gear icon to configure the following items:
- “blog tag” is where you specify the tag the plugin uses..
- “site dir” is where you paste in the absolute path of your Hugo site. I’m on Linux, so my path looks like this: “/home/jacquesvb/Dropbox/Website/jacques-blog”.
- “blog dir” is where your blog posts will be migrated. Enter “/content” to select the “content” folder.
- “static dir” is where attachments will be migrated. You want to enter “images” here.
Close the “Options” window and return to the main page. Create a new note and it should appear in the “Posts” folder. Create a test post. Add an image. At the top of the post you need to add some metadata which looks something like this:
---
title: Making a Bog Website
date: 2025-02-17
draft: false
tags:
  - blog
---
This format is called YAML Front Matter. The important element in the example above is “tags:” where we define the “blog” tag which will tag the post for migration.
With the post created and the “blog” tag attached, click the “hugo sync” icon on the left border of the Obsidian toolbar. Migration should occur and you should see your blog post appear in the “content/Posts” folder of your Hugo site.
Run the Hugo server again if it’s not already running.
hugo server -t terminal
If everything went well you should see your post on the Hugo site!
Deploying to GitHub Pages#
To publish a GitHub Page you need, obviously, a GitHub account. Then you’ll need to create a repository with the name of your user name plus .github.io. For example my repo is “jacquesvb.github.io”. Clone your repo into the folder that contains your Hugo and Obsidian folders, so now my folder looks like this:
Website (root folder)
	|
	jacques-blog (Hugo)
	|
	blog (Obsidian)
	|
	jacquesvb.github.io (Git repo)
Now you’ll need to build your Hugo project into a static website. From the root of your Hugo folder type hugo. That’s it! All the files you need are in the “public” folder. Now you need to copy them over to your Git repo folder.
On Windows you can userobocopy to clone one folder into another. Since I’m using Linux I’ll be using rsync.
rsync -av --delete "/home/jacquesvb/Dropbox/Website/jacques-blog/public/" "/home/jacquesvb/Dropbox/Website/jacquesvb.github.io/"
Once the files are copied, go into your Git repo, git add, git commit, git push, badda bing, badda boom, your site is published! To test your site, open a browser and enter your GitHub Pages URL (jacquesvb.github.io in my case) and your site should appear. If not check the pages tab under the settings for your Git repo.
That’s it! You now have your very own blog website at no cost.
Additional things to do:
- ~~Create a bash script to automate deployment~~
- Custom domain name
- Add a comments section
- Add a calendar
- Other stuff…